Wednesday, 18 November 2015

Halloween Get The Look - Minnie Mouse


So it was Halloween, aka my favourite time of the year, very recently. I love the fun and dressing up, the dark nights and spooky tales of Halloween. This year I dressed up as Minnie Mouse. My ears are the classic Minnie ears from DisneyLand Paris, and I tied my hair up in a bushy, curly ponytail. My patterned trousers are the love of my life and an absolute bargain! They cost me £3 down from £28 from a Topshop! I was so pleased with them, when I spotted them at the back and end of the sale rail in town! They are soft, comfortable and stretchy so I like to wear them out and to bed! I also think they would be perfect for a night on holiday somewhere sunny, as they give off that summery vibe! My heels were brought two years ago from Primark for around the £15 mark and just simple block fabric heels that are super comfy to walk in. I paired these with a simple, spaghetti strap, black crop top from New Look that was around £6 (can't quite remember!). My necklace and two of my bracelets are from New Look. The other two bracelets are Nomination bracelets which I wear religiously! One of my rings is a 9 carat gold Irish ring, the other is the March birthstone Pandora ring. My final ring is sterling silver princess crown ring from an online shop called Pastel Clouds. They're jewellery is incredible, I recommend you look them up! I'm wearing my usual face make up with Revlon's Romantique lip crayon (my favourite red shade to wear). On my eyes I am wearing Avon's midnight eyeshadow, with Natural Collections kohl liner on my lower lash line and Soap and Glory's supercat on my top lash line. I am then wearing Avon's Luxe mascara in rose gold limited edition black as black. All these eye products are well loved by myself and I recommend all of them. 
That's all for my Halloween, I hope everyone had a good one! 


Tuesday, 10 November 2015

Beauty Haul - Real Techniques, Primark Beauty, Avon, Drugstore pieces

I recently went on a little shopping spree, after being paid at work. I brought quite a few clothing and room items to decorate my new room, but the main things I brought (as per usual) were beauty related. The first was the most expensive and a little treat to myself. I had been looking online at Christmas presents (early I know!) and decided to treat myself to this gift. These are the Real Techniques Deluxe Gift Set, which contains 5 brushes and a beautiful silver clutch. This clutch cannot be used for much as it is very thin, but would be great to store the brushes in I guess. I probably won't be using it this way as I prefer to store all my brushes in an IKEA pot on my dressing table for easy access. The five brushes include the multi task brush, which I love and use to powder and bronze my face. It is one of the softest brushes I've ever had the pleasure to use and is big enough to brush against my whole face in a few sweeps! The second brush include is the tapered foundation brush which I have not actually used yet. I don't wear foundation, and when I tried to use this brush for concealer, found it too stiff and hurtful on the skin underneath my eyes. The gold handle is gorgeous though! The third brush is my favourite and one I probably should have invested in a very long time ago! It is the base shadow brush, which glides eyeshadow on like a dream. It is the perfect size and shape to apply eyeshadow with and is soft so blends well. I do believe this brush is sold as a single brush for the £6 mark, so look out for it! The forth brush is the angled highlighter brush which I also love. It it perfect for exactly what it says, angled highlighting on the upper cheekbones and just below your contour. The final brush is the fine liner brush, which is made for liquid eyeliner, but I use it to apply a line of eyeshadow under the eye. I love this brushes and think they are fully worth the price. I mainly brought these because they were on sale/cheaper than usual, to encourage people to buy them as a Christmas gift. They cost me £20, but usually cost £30.That meant each brush was only £4, an absolute bargain! LINK


The next items I brought were from Primark's beauty range. The lashes and nails were both a pound each and I wanted to try them out. The nails were basic manicure ones, and did not last long. However I feel with stronger nail glue from a higher brand, these nails are perfect. They held themselves together well and looked lovely. I would recommend you buy a better nail glue to go along with these nails. I have yet to try the eyelashes, but they look quite nice in the packaging and the glue looks sufficient enough to hold. I'm sure with a coat of mascara, these lashes would look almost natural next to my current lashes.


I then picked up three lipsticks from a new brand called I heart make up, which you can find in Superdrug. The packaging was what enticed me. They are bullet shaped and simple, but a lovely deep pink/purple colour. They remind me a lot of the MAC lipsticks, but just pink! The lipsticks twist up and have a slanted top, so they fit to the shape of your lips. The lipsticks were only £1.99 and on a 3 for 2 deal, so it cost me £4 for three lipsticks. I was quite bold with my colour chooses. One was a bright coral/red lipstick, perfect for Summer. The next was a deep red, which I picked up without realizing how similar it was to one I already have! However it is a lovely shade. The last is more similar to my usual colours, a pinky nude. You get what you pay for these lipsticks. They are cheap and don't last very long on your lips, which is disappointing. They are pigmented though and I love how these lipsticks look stood in their stand on my dressing table. 


The final thing I brought is a perfume from Avon. I have smelt this in the past, on the smelly spots they include in the booklet. It is a gorgeous, sweet, but not too sweet scent and came as a 30ml bottle. I like this size as it is perfect size to throw into my handbag or college bag and only cost me £2.50! I love love love the prices and quality of Avon and wholly recommend them to you. The bottle is cute, the writing neat and the image used looks cool when seen from the back, as the perfume is almost a clear colour.


There you have it, my recent make up haul! I hope this inspires you guys to go out and do a little damage for yourself or others around Christmas time!

Music Monday // Focus

Today's Music Monday belongs to my all time fave Ariana Grande. I've mentioned my love for her before (several times in fact!) and her new single lived up to my expectations. On first listen, I was too preoccupied with the music video to her new single Focus, so hardly focused (haha get it) on the song itself. My first impression of the video was mixed. Ari has gotten so good at dancing, the choreography looked incredible and I loved the colours, background and general feel of the video. However I feel Ari's make up in the video looks patchy and too full on. She's so naturally beautiful, but i feel she was caked in make up. She also had lilac/silver coloured hair (not sure if it was hers or a wig!), but I don't think it suited her. However, these are only small points and I do love the video overall, especially Ari's outfits!
The song itself is so catchy and caught me straight away. When I first listened I loved Ari's vocals and the lyrics to the song. The song actually reminds me of her previous song Problem, but Focus is less of a girl power song and more of a pop song. I love all her music, and although Focus is not one of my favourites, I knew I would still love it and listen to it on repeat, purely because it's her song! The only criticism I have is the annoying voice in the background. The voice was revealed to be Jamie Foxx, who constantly sings in the background of the song. So many fans have been gutted with that part of the song, there has even been a remake made of the song by a fan, where the annoying voice has been cut out. However, the more I've played the song, the less the voice has bothered me. I've almost come to enjoy the voice, so don't let that put you off!


So there is my new Music Monday... a day late!  Sorry about that guys, I never had time to finish writing this post last night, but didn't want to scrap it or save it till next Monday, as I feel it would be too late to review this by then! 

Sunday, 8 November 2015

DIY Room Ideas - Plant Wall Decoration

Hey there guys, so today's post is going to be the start of a segment I want to do, called DIY Room Ideas. I've just moved into a new room and have had many brainstorms to get the room looking cute and tumblr! The first of these ideas is plant wall decorations. All you will need for this is from IKEA. IKEA is great for cheap ways to use all the space in your room. This idea is not my own, I actually saw it in one of the IKEA Nottingham show rooms.

You will need:
It doesn't matter what type of plants or flowers you use. I used two flower arrangements then two IKEA potted plants. All of these were artificial and under the £5 price range. It is better to get artificial plants, so they never die and do not need replacing every week. IKEA's artificial plants look almost real.but if you prefer the look of real plants, they are also available from IKEA. 
Make sure you add the hooks onto the rail before screwing the rail onto the wall. Once the rail is secure, you cannot add anymore hooks, so make sure you add the right amount. Add the bucket's to the hooks and place your plants inside. I left the plants inside their pots, as the pots are not visible over the top of the bucket anyway, and it keeps the plant secure.
There you have it! That's your easy, quick and cheap way to create a cute wall decoration. You can of course add more rails and plants, or just buy one rail and two plants. I'd say the maximum amount of plants per rail is definitely two.Trying to fit a third bucket and plant on would be a struggle and look untidy. You could fill a whole wall with this kind of decoration as it adds a bit of colour and warmth to the room, especially in summer! The rails and buckets can also be used for other things; you could put make up brushes or pens into the buckets and use them as storage. The buckets and rails are actually found in the kitchen section of IKEA, so are suggested to be used to store cutlery or food!

I hope this segment is interesting, personally I love looking at how other people have decorated their rooms!


IKEA Plant - £3

Flower Arrangement!

Saturday, 7 November 2015

A Quick Update

So it's been quite a while since I've blogged and I'm so gutted! During the summer, I had so much more time to blog. I do love blogging and writing, but as soon as college started I lost the time and effort. All my effort went into working hard at college and though I am not disappointed about that, I do wish I'd kept up my writing. I've just moved into a new room and found the inspiration again! Almost everything in my new room is new and so bloggable (if that's a word!). We've had an attic extension, so the room is up in the attic. It's small, but so cute and cosy!

My last post was August time. I went back to college at the start of September and have since been bombarded with coursework, homework and after school catch up sessions. I spent most of my time throughout September catching up on work, and didn't really do much at the weekends! Over October half term I worked and shopped. Whatever money I earned I seemed to spend half of it the next day! Bad I know, but I did work hard for the money! Halloween, my favourite time of the year, rolled around pretty quick and I went to a girlie sleepover with some close friends from college. It was a lovely night, we ordered a takeaway and spent the night curled up gossiping over share bags of doritos and haribos. We watched the Nightmare Before Christmas (a classic Halloween film) and a slightly scary film, called Carrie. It was the newest version, with Chloe Mortez and surprisingly good! And the last week of college has been a very long week. I've been trying to balance adding last touches to my room and coursework. I've had to spend a lot of time trying to make decisions this week, as to what I want to continue doing at A-Level. I'm pretty sure I'm staying at my current college for A-Level, but I still don't know what to pick! Once I've decided, I think I'll do a blog post on how and what to pick, plus what I chose.

So this was a quick little update on what I've been up to recently. I'm hoping to spend today sorting my blog, taking photos and planning posts, so I should be up and running very soon!

Thursday, 20 August 2015

Lemon Drizzle Butterfly Cakes


Today's post is going to share with you, one of my favourite things to do to pass the time; baking! I love cooking , baking and thinking of new recipes. This recipe was taken from a cooking book, but I altered it slightly. It's a recipe to make lemon butterfly cakes, but as I'm not the biggest fan of lemon, I decided to make the cakes plain, but add lemon juice to the butter cream, making them more lemon drizzled, thank lemon flavoured. Butterfly cakes were my favourite when I was younger; at cake sales, I would always go for the cutest looking cupcake and loved the little butterfly wings that stuck out the top of the cake. This love for how cute, yet easy butterfly cakes are stuck with me.
To make these cakes you will need:
  • 115g self-raising white flour
  • 1/2 tsp baking powder
  • 115g soft margarine
  • 115g caster sugar
  • 2 eggs
  • 2 tbsp milk
  • 100g chocolate chips/ grated rind of 1/2 lemon
  • 85g butter, softened
  • 175g icing sugar
  • 1-2 tbsp lemon juice
Step 1;
preheat the oven to 190 degrees. Put 12 paper/silicon baking cases in a bun tray.

Step 2:
Sift the flour and baking powder into a large bowl. If you are using a mixer, food processor or any kind of electrical mixing equipment, sift the two ingredients straight into the bowl of the mixer.

Step 3:
Add the margarine, sugar, eggs and milk. Beat together using your mixer, or if you prefer this, beat together with a wooden spoon, until the mixture is smooth.


This is where I decided to add 100g of chocolate chips, rather than the grated rind of half a lemon. It is up to you which you add, but I wouldn't advise adding both.


Step 4: Spoon the mixture into the paper cases


Step 5: Bake the cupcakes in the oven for 15-20 minutes or until risen and golden brown. I found 15 minutes was perfect. Transfer to a wire cooling rack and leave to cool.


Step 6: To make the filling, put the butter into the mixer or bowl you previously used and beat until light and fluffy. Sift in the icing sugar, a bit at a time, add the lemon juice and beat until smooth and creamy.
Step 7: When the cupcakes are cold, use a knife to cute a circle from the top of each cupcake and then cut the circle in half. This will make the butterfly wings. Spread or pipe as much as you want, of the lemon filling into the center and over the top of the cake. Then press the two semi-circular halves into it at an angle to resemble butterfly wings. I chose to add sprinkles, but you can leave them like this.


So those are your finished cupcakes! I hope you enjoyed this post, as it was a little different, but shares my love for baking and cooking with you guys! Let me know if there are any recipes you think I should try :) 

Tuesday, 18 August 2015

Make Up and Skincare Haul

It's been over a week since I post, so when I had free time today, I used my new camera to take some blog photos, and as I have been doing a lot of shopping recently, I thought I'd do a make up and skincare haul! My new camera is the Fujifilm Finepix S1660. It's a slightly older model than I thought I would buy, but for £35 I'm very pleased with it!

The first three things I brought are from the Simple, Kind to Skin skincare range. I love a bit of Simple and their products are so cheap and do wonders to my skin. I've been in need of a new moisturizer for a long time so picked up the Simple Replenishing Rich Moisturizer. I have really dry skin, so moisturizer everyday and like to use a strong, rich moisturizer. The packaging of Simple products is simple, but pretty and their products are great. I wouldn't recommend this moisturizer to people with oily or normal skin. It is too thick, but very good for dry skin. It dries quickly once applied and you only need a small pea sized squirt to cover your entire face. I brought this product from Boots, which is having a massive Simple sale at the moment. It cost me £2.00, but is normal £4.00.


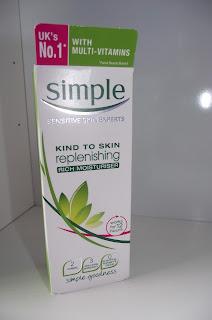
The second Simple product I brought was the Simple deep cleansing face mask. At half price, this cost me £2.19. It is the kind of face mask that comes out white, but looks like moisturizer when you put it on; it leaves your face looking shiny. But, it works like a face mask. You leave it on for 3 minutes then wash it off using a flannel and water. When on your face feels tight. As soon as you wash it off, your face feels refreshed, clean and so soft. It is recommended you use this face mask once a week on dry skin and 2-3 times a week on oily/combination skin.


The final product I brought was the kind to skin Micellar Cleansing Water. Micellar water for those of you that don't know, takes your make up off and clears your pores of dirt. It looks and feels like water on your skin. This cost me £2.55 and is a new product to the Simple range. I usually use Garnier or Loreal Micellar water, but they have risen in price recently, so I thought I would try this one. So far, it seems good, but just the same as the other two I have tried. It is gentle and has no smell. It's basically the perfect way to take make up off, from your eyes, face and lips.


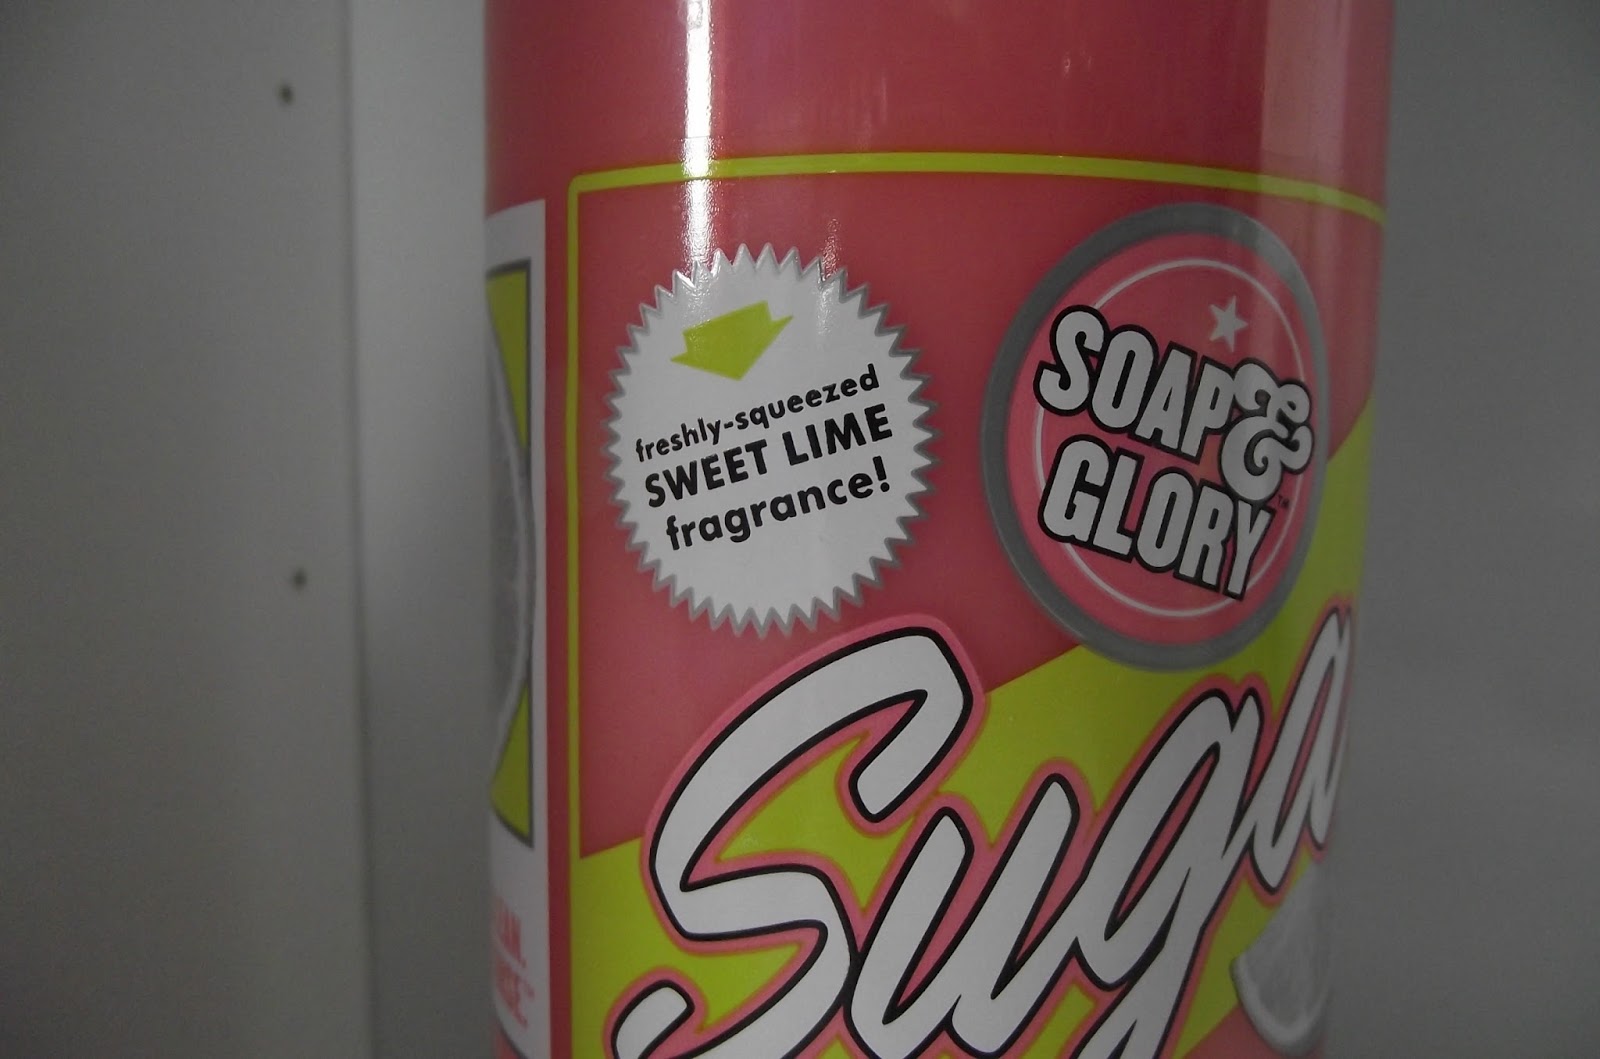
I also brought the Sugar crush body wash from the Soap and Glory range. I love S&G products, they all smell so good and are so kind to my skin. I mainly brought this product because of the scent. OH MY GOD, it is heaven in a bottle! It smells like a mixture of sugar, lemon and citrus fruits. It's definitely a Summer scent, but it is so good, I will probably use it in the Winter too! It cost £6.50, and is a huge bottle, so worth the price. S&G are very popular, their packaging is cute and their products are good, yet affordable.


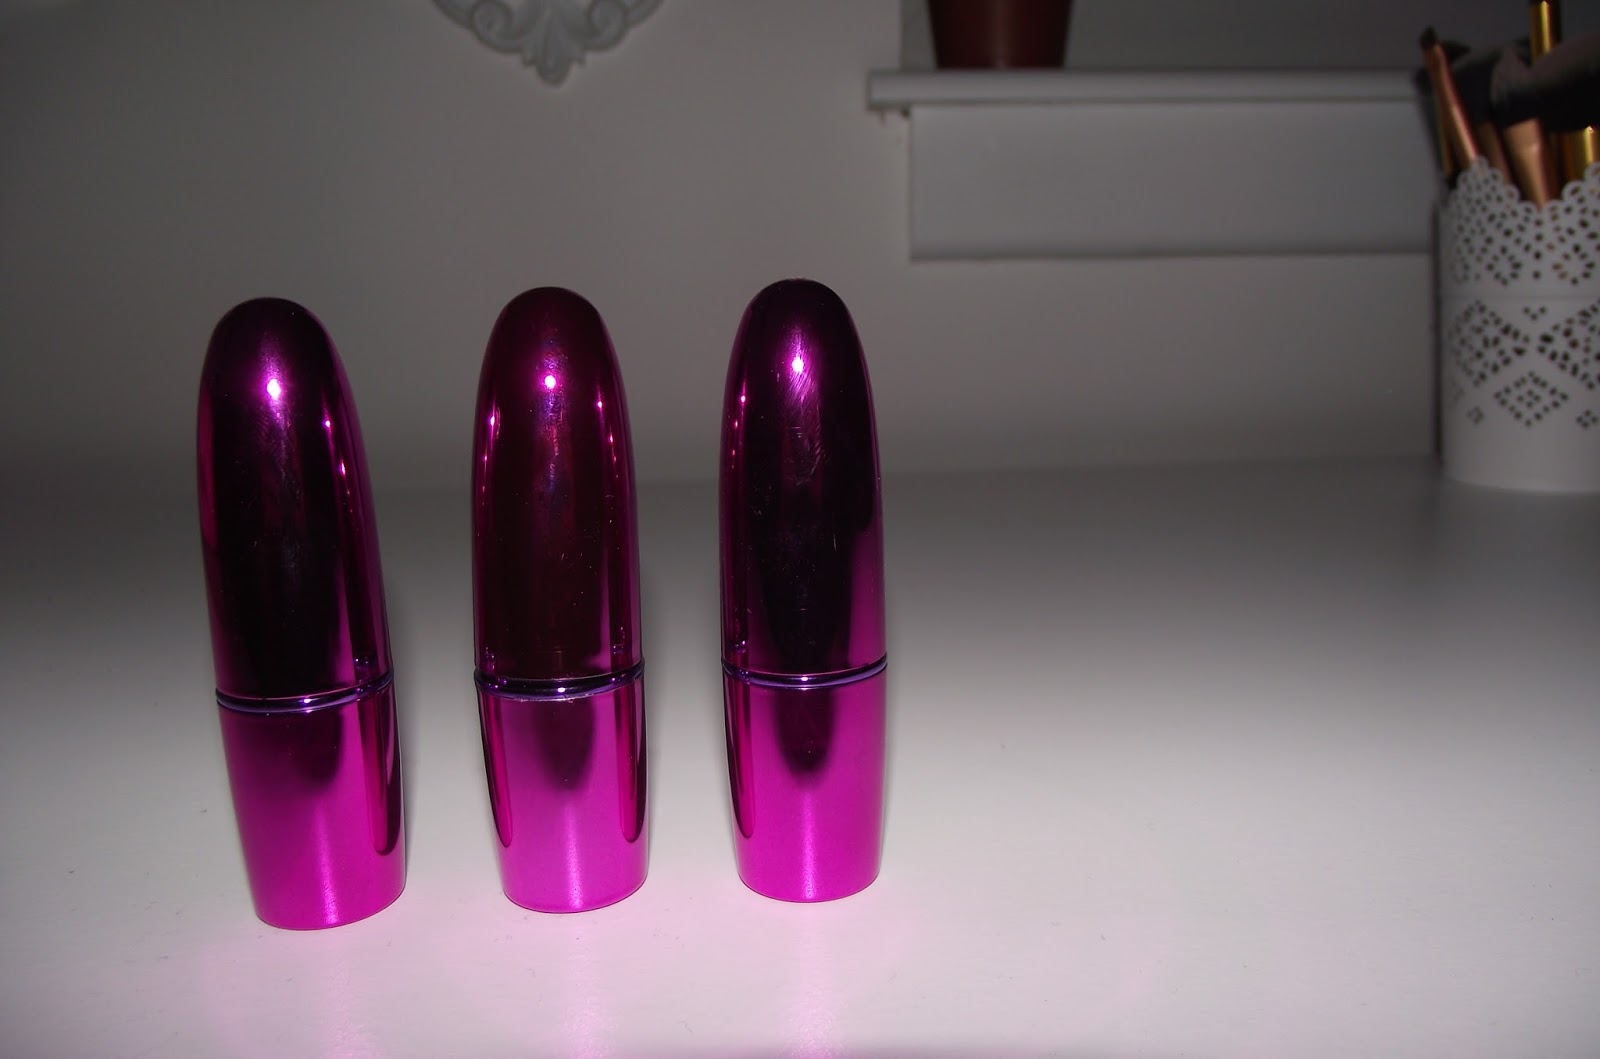
My final two purchases are lipsticks. The Rimmel Kate collection is one of my favourites and at the moment, her lipsticks are my all time favourites! The two lipsticks are brought are at opposite ends of the spectrum; one being a dark purple and the other being a pinky nude. They were buy one get one half price, so I picked up two. I went into Superdrug, planning to buy the 45 nude lipstick from the new release of the Kate lipsticks. She released five nude lipsticks, and i was very excited for them! However, I only liked the 45 shade, the others were too nude or too pale in colouring. The other lipstick is the Starry-Eyed, 128 shade. It is a deep, plum shade. Together the lipsticks cost £8, which is so good for two lipsticks. Rimmel lipsticks are moisturising, long lasting and come in such beautiful shades.


Stay tuned, I also have a home ware haul coming soon, in preparation for my new room!

Monday, 10 August 2015

Music Monday // A New Artist

I watch a lot of YouTube and two of the Youtubers I watch, LucyAndLydia mentioned an artist on twitter. I was curious and when I googled him, I realised I had seen him before. His name is Max Schneider, and he was on the Nickelodeon show How To Rock. I used to be obsessed with him and his character on the show! He's also very good looking which probably moved my obsession along! When the show stopped making new episodes, and I got too old to watch it, I gradually forgot about him. I knew he could sing, as the show is about singing. But it wasn't often he actually sang solo on the show. When I rediscovered him through Twitter, I was in awe. His voice is so raw and harsh, yet so beautiful and soft. He now produces music and is on tour with a band in America. I'm hoping he eventually comes to the UK because I would love to see him sing live!

The first song I listened to of his, was his cover of Lean On. I fell in love with his voice in it, and although I have listened to it a million times by now, I am still obsessed! It is my favourite cover/song that he has done so far. I also really like his single Gibberish. It's fast, yet beautifully sung and I like the lyrics. It's very original too. My third favourite song of his, is his cover of Ariana Grande's Problem. As you know from a previous post, I love Ariana and saw her live. His cover is almost as good as the original and his voice sounds very similar to hers, because of how high pitch it is. I think my favourite thing about Max's voice is the way he can hit the high notes and the low notes so well.


Be sure to check him out! I know you will like him, even though my love for him seems to have spurred because I once used to watch him on the TV. It's like seeing an old friend or a familiar face become successful and do what they love!
Max's Website: http://maxschneider.com/
Max's YouTube: https://www.youtube.com/user/MaxSchneider1

Saturday, 8 August 2015

Washing Make Up Brushes

Beauty bloggers and proffesionals around the world have said it for years; washing your make up brushes is an essential part of every make up routine. Some say you should wash them once a month and others say once a week. I'm guilty of forgetting to wash mine and it has definitely been over three months since I last washed mine! I know, it's terrible, so when I finally got round to washing them today, I was pleased with myself. You should wash your brushes, to get rid of the make up and dirt. Dirt and germs from your face and hands, plus dust, can get caught in the brush hairs, then be transferred on to you face. The dirt gets into your pores and can make you break out. To keep your skin clean and fresh, you should wash your brushes often. I personally say once a month is enough; washing them every week is a chore and too much, especially as most people only put make up on once a day.


You will need;
A tub/bowl
Baby shampoo/gentle shampoo - baby shampoo is best to use because it is the softest shampoo and won't damage the hairs. Unfortunately, I had ran out of this, so used a Dove shampoo. Any shampoo will work really, but go with a branded one that you trust, maybe the one you use on your own hair. Using one that is a shops own or is new can be risky
Your brushes
A fresh towel - This is what you will put your brushes on to dry, so make sure it is clean

To clean your brushes, fill a tub about half way with lukewarm water. Using lukewarm water is best, because it is warm enough to kill bacteria, but not so hot that it could damage the brushes. Put one-two dollops of shampoo into the water and let that settle, whilst you choose the first brush you are going to wash. There is no need to mix the shampoo into the water first; this will happen as you start to wash the brushes. Gently swirl the first brush into the shampoo/water mix. Keep doing this until you think/can see all the make up has been removed from the brush and it is completely wet. Try not to dip the handle of the brush into the water. Over time, the water can looses the glue inside the handle and make the handle become loose. Run the brush under the tap to double check all the make up is removed, then repeat with all your other brushes.
I found I had to change the water and add shampoo after every three brushes, to make sure the dirt wasn't transferring onto my other brushes.
After each brush has been washed, place them flat to lie and dry on the towel. Leave your brushes to dry overnight if possible. It is best to wash them after you have put your make up for the day on, as they can take a few hours to dry.

You now have freshly washed, clean brushes! I love washing my brushes, as I find it weirdly therapeutic and I love when the brushes look and feel like new!
If you use this post to wash your brushes, let me know!
Ps - I find the best baby shampoo to use is Johnson's!